Showing posts with label tutorials. Show all posts

Tuesday, August 9, 2011

Desk Name Sign Tutorial, Entry Sa Crafters Contest (help me win!)


I just wanted to share my entry for Sa Crafters Desk name sign contest. We needed to post a tutorial for what we had made. Hope you all enjoy it and BE sure to vote for me!!!  In order to do so all you need to do is go to my video and like it on youtube!!

So here is the link incase you want to vote for me :) (hint, Hint) lol
http://www.youtube.com/watch?v=SxGMJKCtUoA


Wednesday, April 27, 2011

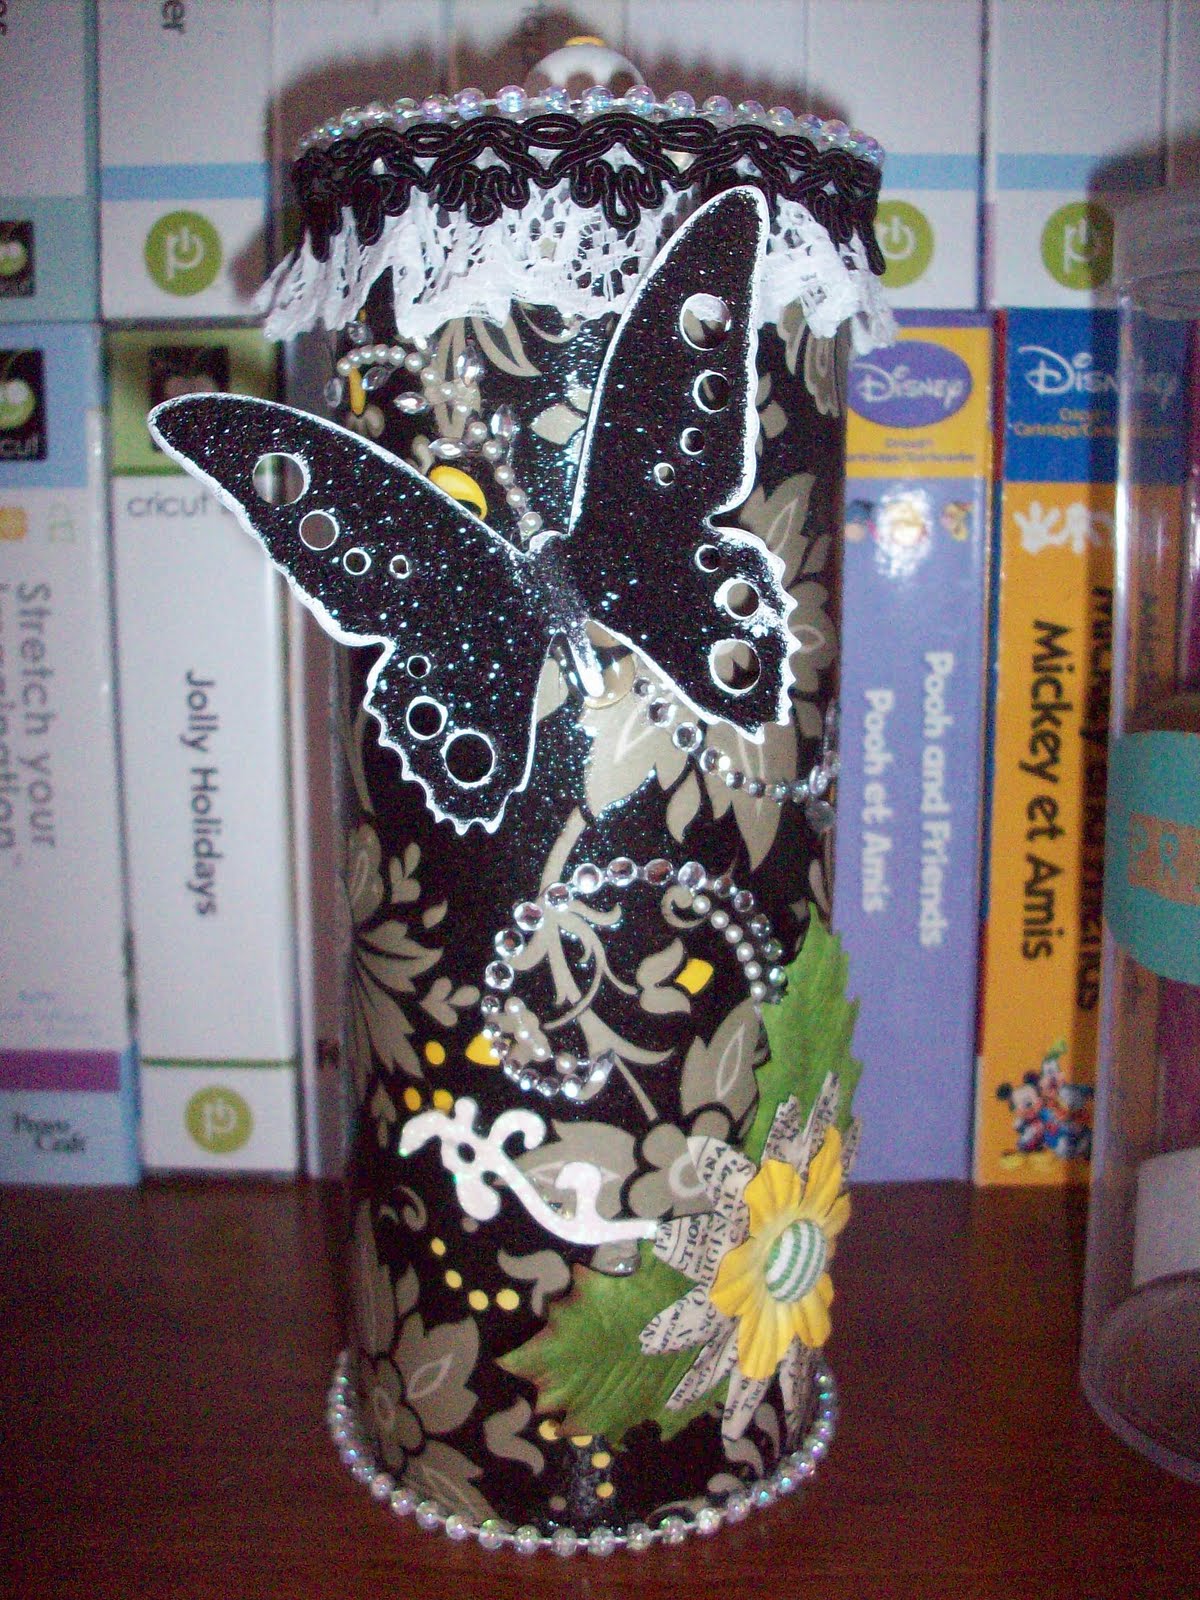
Altered Prima Flower Jar....

I have been staring at these flower jars trying to figure out what I want to do with them I now have like 5 of them and really did not want to toss them, so I decided to just go for it...
So this actually took me about 15 mins and thought it came out cute I have no idea what I am going to do with it but, it looks cute.. lol
Here is the before and after shot.

So what I did was put paper around it then added my embellishments, I used string pearls, some primas, recollection leaves, prima bling, chipboard florishes and a chipboard butterfly where I painted the edges with white because I wanted it to stand out a little more expecially with the black background and the white made it stand out alot more.

As for the top I just traced the cover on a peice of the pattered paper, cut it out and glued it on the top. I used another one of thoes knobs and because there are holes in the top and bottom of them I just hot glued a brad in the center to cover the hole and I liked the way it turned out. I added some string pearls around the edge and lace and trim to cover the sides of the cover.


Here is a picture of the inside I really decided to leave the inside alone, but loved the way it came out. Now I just need to figure out what I am going to be putting inside...


Thanks for looking and Enjoy!


Tuesday, April 26, 2011

What I have been working on.....

I just wanted to share a sneak peak of my latest mini's I have been working on. I started these 2 this past week and thought I would give everyone a sneak peak. The first one is a mini album I AM ACTUALLY making for myself. I have been addicted to using my "Bind It All" and started this chipboard album for me and my fiance's photos (I THINK) lol..... I ended up painting all of the chipboard pieces white with acrylic paint and then adding the paper on top. Here is the cover I just finished.... (I am working backwards) Usually I do the cover last. LOL. I honestly loved everything about it.

This next mini album I started early last week I feel like there is something MISSING On the cover and I started about 4 pages in it so far but I am just showing the cover. I used the new DCWV paper stack (The Lemon Flower Stack) I really loved that paper line and the colors, but It still needs more to the cover and a charm and some fibers and ribbons tied on the binding. I am not sure where this album is going yet but I will figure it out when I get it finished. Like I said this one is not complete I been brain storming and working on other things... lol I am bad at that I have a huge draw full of "Started Projects" lol

Thanks for looking , and Enjoy!


Monday, April 25, 2011

My altered box

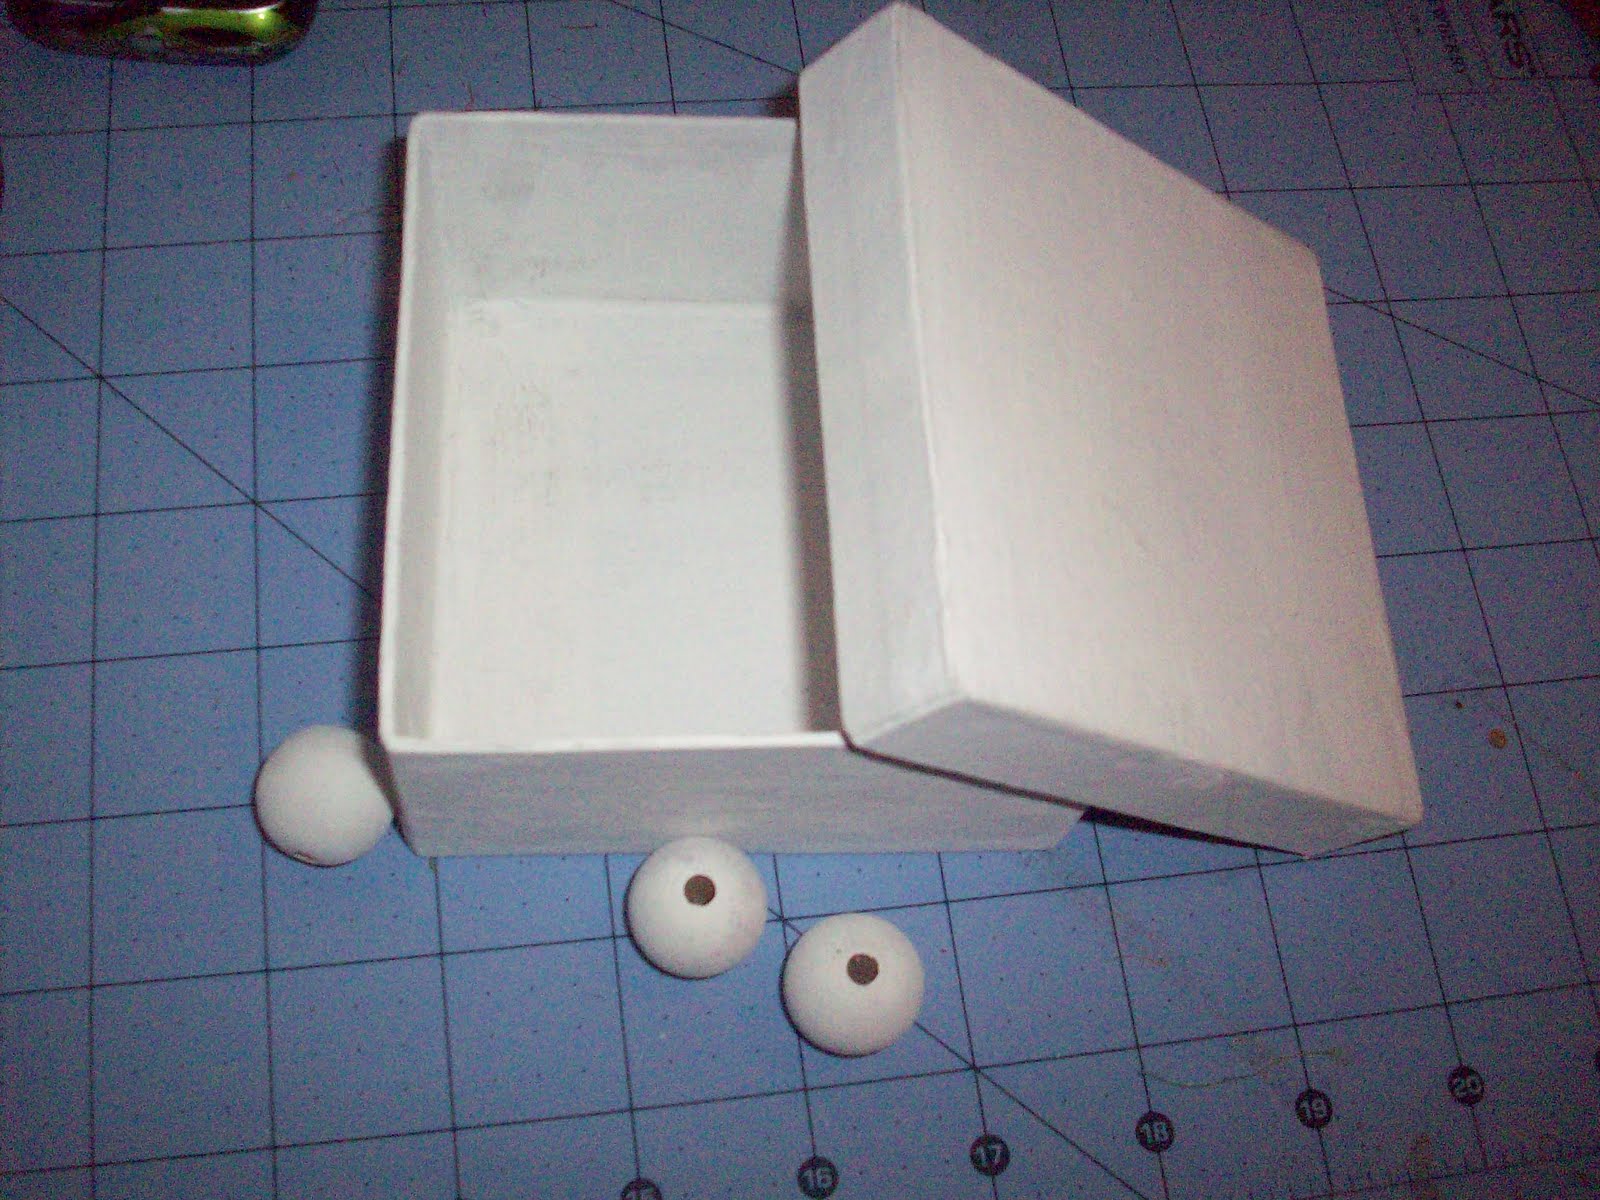
Yes I know, I have been slacking on my blog posts, but yes I have been getting some scrapping done. I did this altered box out of one of thoes cardboard boxes from joanns for $1 (pictured below) I also used wood pieces for the feet of the altered box (also pictured below) I also found thoes located in the same section.

Supply list
box
wooden knobs
 black acrylic paint
 mod podge
 graphic 45 paper
 flowers from wild orchid crafts
 I also used chipboard florishes
 recollection leaves
2 different trims


I first painted the box with black acrylic paint. (all sides, inside and bottom). I also painted 4 of the wooden knobs. (This box is another one I started in white)

I used mod podge to glue the paper cut outs onto the box. I also used it on the entire box to make it looks glossy, along with the feet and bottom of the box. After that dried I added my embellishments and trim and this is how it turned out.


As you can see I just hot glued the wooden knobs on the bottom as legs.


Thanks for looking!


Wednesday, March 30, 2011

How to make your own glimmermist

If any of you are like me, I am addicted to glimmermist. Lately I have been making alot of my own glimmermist. I purchase my bottles from this ebay seller. Here is the link for her if you would like to buy some....

She is super nice and always buy my mini misters from her

Here is what the Misters, My glimmermist, and some of the color combinations I have used that I liked.
Possibilties are endless!

Here are a few of the colors I have made
This is actually the paper I use in the back of what I am glimmermisting, so hence the mist of tons of colors....My lighting is not that good but The one that shows the most was a purple with gold mist, its hard to tell on here but looks really pretty in Real life


Another mixure of handmade glimmermists


Supply List Needed
1. Mini misters
2. Pefect pearls or Pearl ex
3. Colored inks in the dropper bottles (I use the refills for regular inkpads) Not DISTRESSS OR Alcohol inks.
Last but not least Water!!

Step 1:  Put your pefect pearls in the bottom of your mini mister (any color) I tend to put more then normal because I like mine really glimmery but you can always add more if it is not glimmery enough for you.
Step 2: Add the color ink you would like (this will be the color of the mist itself) I normally add about 15 drops in the mini misters I use from the ebay seller above. Your best bet is to add some try it and if you would like a darker color just add more ink.
Step 3: Add water to your mister. I would say leave a space from the top incase you want to add more perfect pearls or ink.
Step 4: Close the bottle, Shake it up and ENJOY!!!
Like I said you can always add more ink and pearls to add more of a shine or make the pigment stronger.